Instance portal · Riverglades
37.5, 37.5
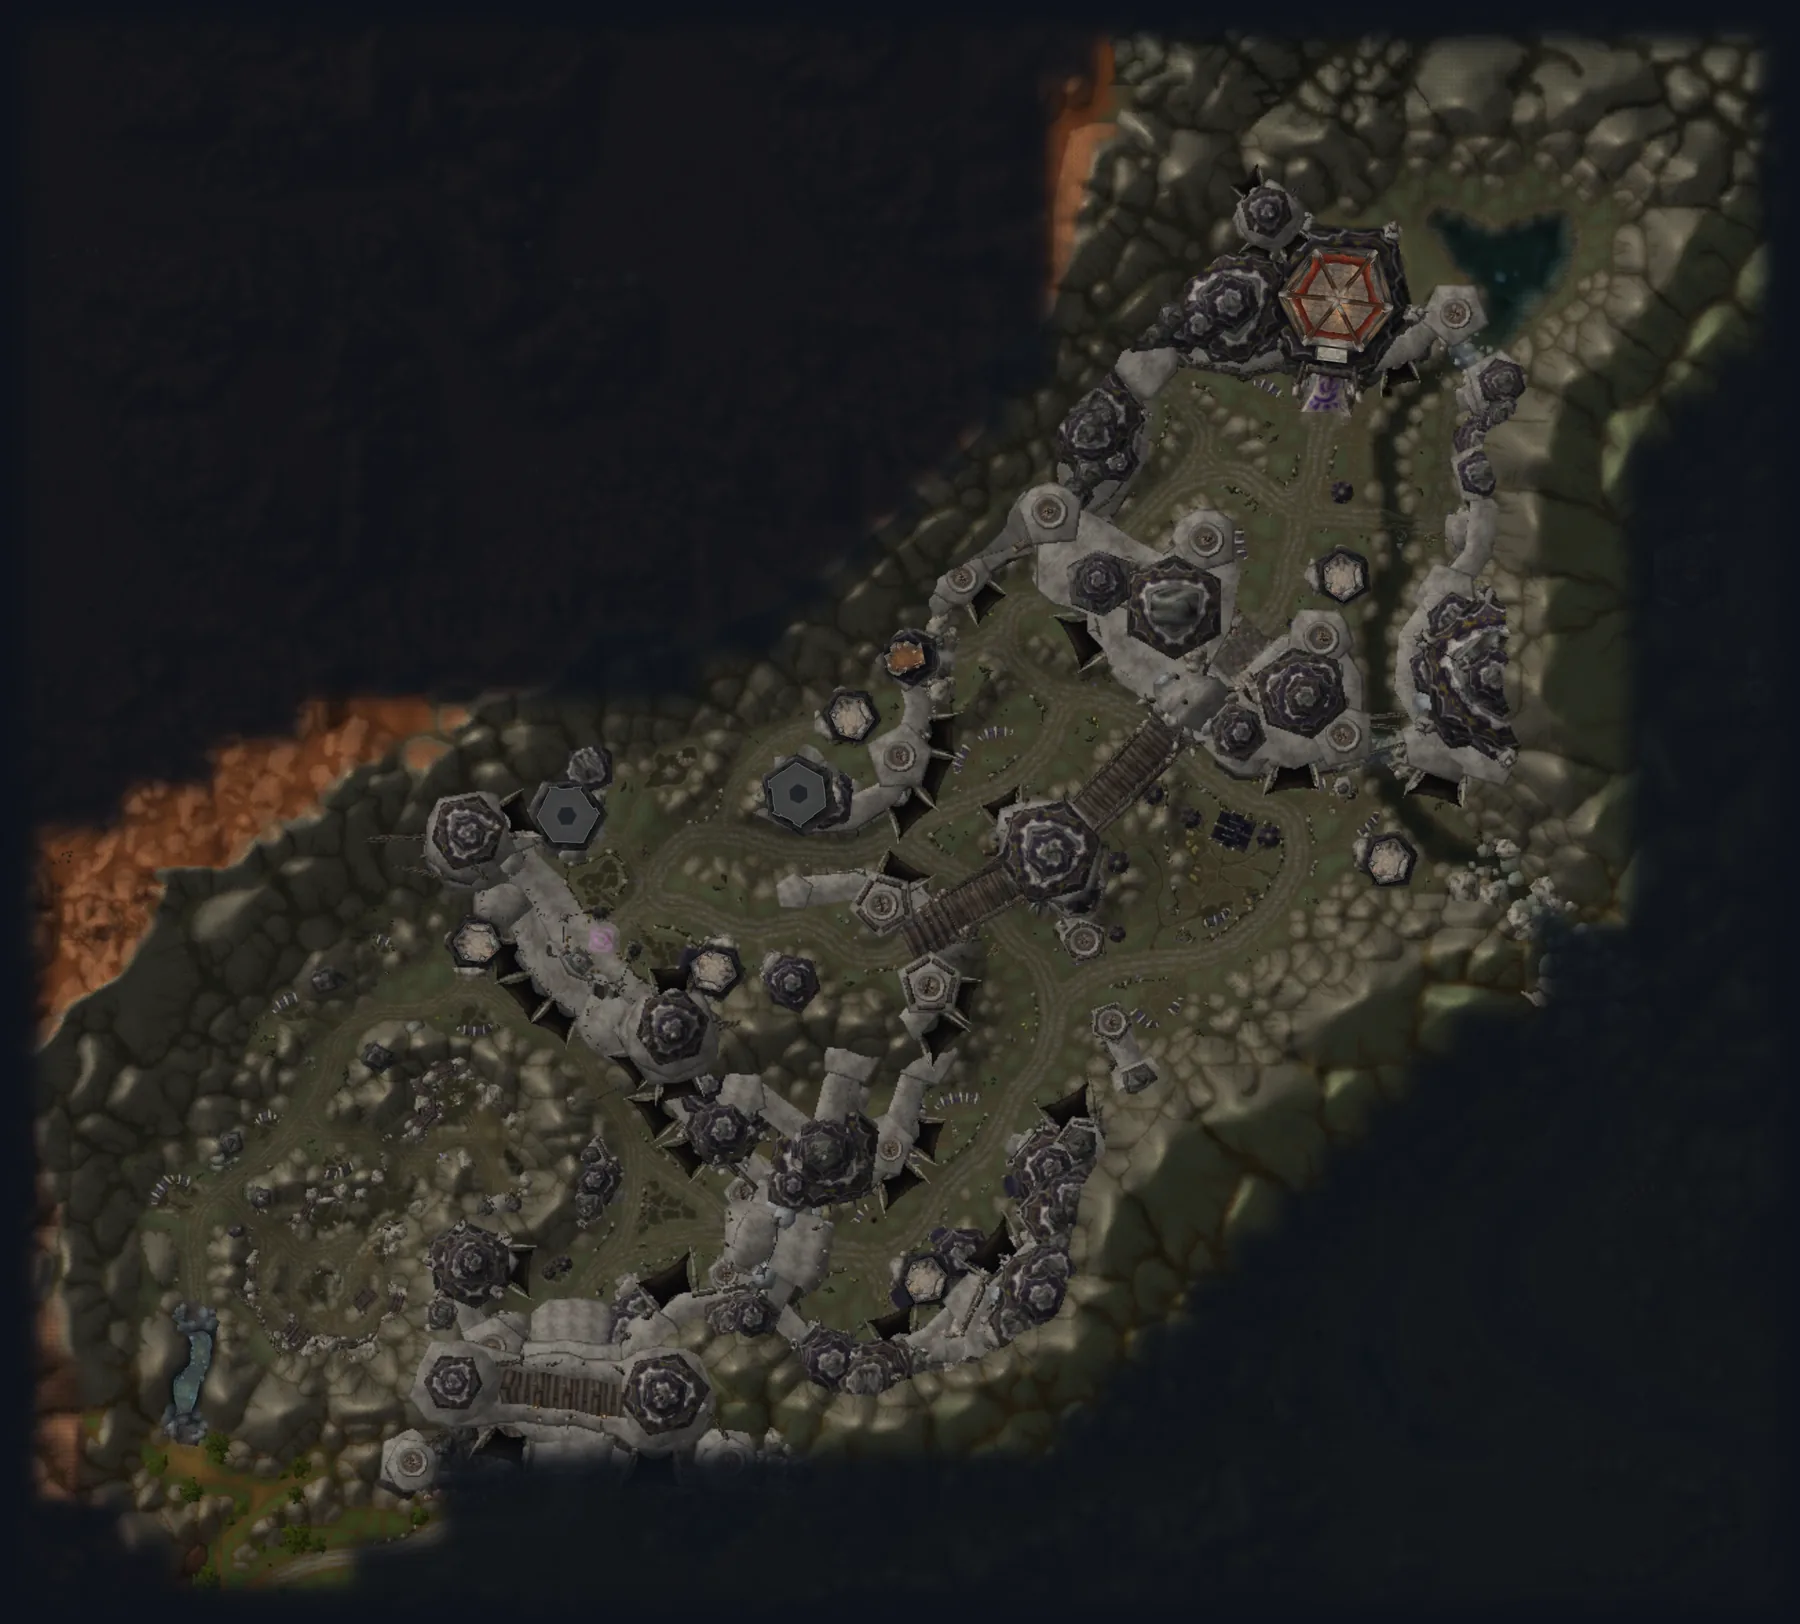
Approach the fortress above Sunnyglade in northern Riverglades. Enter the cave west of the main gates.
Explore boss tactics, group roles, pull routes, quests and entrances, then plan your gear targets.
Follow the paved road through the quarry, wolf pen and twin bridges to Mugg.
37.5, 37.5
Approach the fortress above Sunnyglade in northern Riverglades. Enter the cave west of the main gates.
Nearby flight points: Rog'mar, Riverglades (59.6, 45.1), Farholde Keep, Riverglades (60.6, 81.6)
Follow the landmarks in order. Optional stops are marked in the checklist.
Map numbers match the route steps below. Select a marker for its legend and links to the matching step or boss.
Move up the paved road and descend right into the quarry. Clear fighting space between Grox’s patrols.
Slavecrusher Grox →Leave the quarry and follow the road down into the compound. Clear along the left wall before pulling Zarmok to unlock the gate.
Twilight Commander Zarmok →Pass through the unlocked gate along the road to the wolf pen and clear Ashka’s wolves first. Follow the road curving left past Tunk’s forge.
Handler Ashka →Pass beneath the bridge and take two left forks uphill to the summoning circle. Control the warlocks, defeat Nar’gurk, then retrace your steps to the main road.
Nar'gurk →Follow the road past the huts onto the twin bridges. Engaging the bridge centurions starts continuous reinforcements; advance together and clear Toof’s shamans at the far end.
Bossman Toof →Continue through the upper ogre settlement to the house at the end of the winding road. Control the two centurions and spread out for Mugg’s leaps.
Overseer Mugg →A tank stun can coincide with incoming prisoners. Fight on cleared ground and pick up the reinforcements.
Pull him away from the camp, leave his spinning attack and spread for charges.
Her wolves can switch to a marked player. Focus one wolf down before taking the second.
Control the warlock attendants and disable charmed allies until they recover.
Pick up the incoming brutes while advancing together toward the shamans at the far end.
Control the two centurions, spread out and move away from each leap’s landing spot.
No recorded quests match this faction.
Horde · Minimum level: 40
Alliance · Minimum level: 40
Horde · Minimum level: 44
Horde · Minimum level: 42
Alliance · Minimum level: 42
Alliance · Minimum level: 44
Alliance · Minimum level: 45
Alliance · Minimum level: 41
Horde · Minimum level: 41
Alliance · Minimum level: 42
Loot records are still being expanded and do not include drop rates.
| Item | Slot | Required level | Stats | Drop source | My list |
|---|---|---|---|---|---|
| Waist | 39 | Stamina +15 Equip: +12 Spell Power | Slavecrusher Grox Krol'dok Stronghold | |
| Shoulder | 39 | Agility +10 · Stamina +15 | Slavecrusher Grox Krol'dok Stronghold | |
| One-hand | 39 | DPS 29.8 · Strength +6 · Stamina +9 | Slavecrusher Grox Krol'dok Stronghold | |
| Legs | 40 | Stamina +21 · Intellect +10 Equip: +13 Shadow spell damage | Twilight Commander Zarmok Krol'dok Stronghold | |
| Main hand | 40 | DPS 20.3 · Stamina +9 · Intellect +5 Equip: +52 Spell Power | Twilight Commander Zarmok Krol'dok Stronghold | |
| Finger | 40 | Stamina +9 Equip: +0.5% Hit | Twilight Commander Zarmok Krol'dok Stronghold | |
| Two-hand | 40 | DPS 39.6 · Agility +14 · Stamina +17 · Spirit +10 | Handler Ashka Krol'dok Stronghold | |
| Head | 40 | Agility +11 · Stamina +17 · Intellect +10 | Handler Ashka Krol'dok Stronghold | |
| Feet | 40 | Strength +10 · Intellect +15 | Handler Ashka Krol'dok Stronghold | |
| Neck | 41 | Agility +4 · Stamina +12 Equip: +5 Spell Power | Nar'gurk Krol'dok Stronghold | |
| Chest | 41 | Strength +10 · Stamina +10 Equip: +13 Defense | Nar'gurk Krol'dok Stronghold | |
| Head | 41 | Strength +19 · Stamina +10 · Spirit +10 | Nar'gurk Krol'dok Stronghold |
 Chain of Binding
 Resistance Breaker Spaulder
 Slavecrusher Scepter
 Shadecaster's Leggings
 Shadowlight Athame
 Zarmok's Plated Signet
 Bloodied Gutslicer
 War Handler's Gaze
 Worgbinder's Treads
 Chain of the Corruptor
 Krol'dok Warplate Chest
 Krol'dok Warplate Helmet